


Exterior Wall Putty: The Key to a Durable and Flawless Finish
A strong, smooth, and long-lasting exterior wall requires the right preparation before painting. One of the most crucial materials used in this process is exterior wall putty. It helps create a perfect base by filling cracks, leveling uneven surfaces, and enhancing the durability of the paint. Proper application ensures that your walls not only look flawless but also withstand weather conditions for years.
In this article, we will explore the importance of using this product, its benefits, types, application process, and expert tips for the best results.
Why is Exterior Wall Putty Important?
Applying putty before painting provides multiple advantages, making it an essential step in surface preparation. Here’s why it matters:
- Fills cracks and holes: It covers minor cracks, dents, and holes, creating a smooth surface.
- Improves paint adhesion: The even texture helps the paint bond better and last longer.
- Increases durability: It strengthens the wall, reducing the chances of chipping or peeling.
- Resists weather damage: High-quality variants protect walls from moisture, heat, and UV rays.
- Enhances the final look: A well-prepared surface ensures an even, professional-looking finish.
Types of Exterior Wall Putty
Different types are available to suit various surface needs and environmental conditions. The most common ones include:
1. Cement-Based Putty
- Composed of white cement and special additives.
- Highly durable and best suited for exterior walls.
- Provides excellent water resistance.
2. Acrylic-Based Putty
- Made from water-based acrylic polymers.
- Offers better flexibility and smoothness.
- Ideal for walls exposed to mild weather conditions.
3. Polymer-Modified Putty
- Contains advanced polymers for superior adhesion and strength.
- Highly resistant to cracks and moisture.
- Works well in extreme weather conditions.
How to Apply Exterior Wall Putty Correctly
To achieve the best results, follow these steps:
Step 1: Surface Preparation
- Ensure the wall is dry, clean, and free from dust, grease, and loose particles.
- Use a wire brush or sandpaper to remove old paint or flakes.
- Repair major cracks with a suitable filler before applying putty.
Step 2: Mixing the Putty
- If using a powder-based variant, mix it with water in the recommended ratio.
- Stir continuously to achieve a smooth, lump-free consistency.
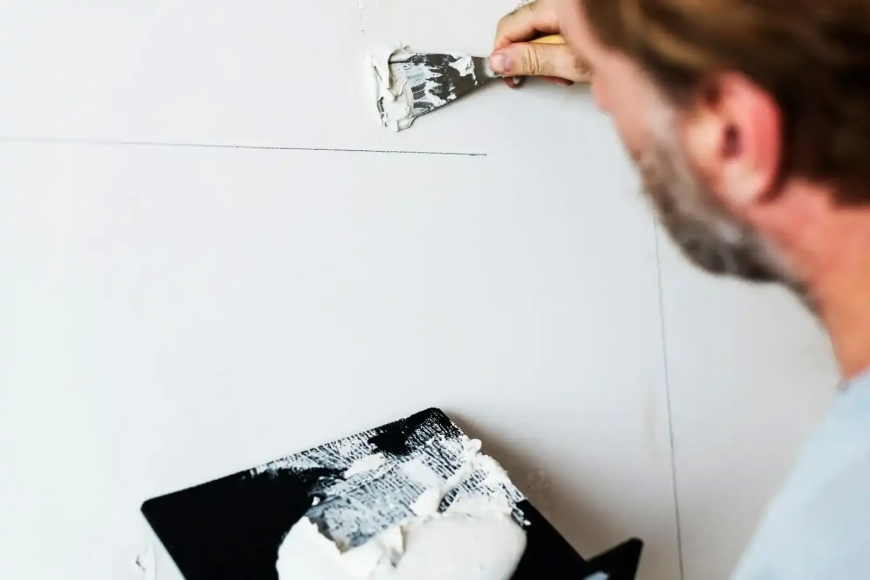
Step 3: Applying the First Coat
- Use a putty knife or trowel to spread a thin, even layer over the wall.
- Allow it to dry for 6–8 hours before proceeding to the next step.
Step 4: Sanding the Surface
- Once dry, gently sand the surface using fine-grit sandpaper.
- This step ensures smoothness and removes excess material.
Step 5: Applying the Second Coat
- If required, apply a second coat following the same process.
- Let it dry completely and sand again for a perfect finish.
Step 6: Primer and Paint Application
- Apply a primer to improve paint adhesion.
- After the primer dries, proceed with painting for a long-lasting, vibrant look.
Expert Tips for the Best Results
- Choose the right product: Select one based on weather conditions and wall type.
- Avoid thick layers: Applying too much can cause cracks; use thin coats for better results.
- Give enough drying time: Rushing the process may lead to uneven surfaces.
- Always use primer: This ensures better adhesion and enhances the durability of the paint.
Common Mistakes to Avoid
- Skipping surface cleaning: Dirt and loose particles can prevent proper adhesion.
- Not mixing properly: Lumpy consistency results in an uneven finish.
- Ignoring weather conditions: High humidity or extreme heat can affect drying time and quality.
Conclusion
Exterior wall putty plays a crucial role in ensuring a smooth, durable, and long-lasting paint finish. By choosing the right type exterior wall putty and applying it correctly, you can significantly enhance the strength and appearance of your walls. Whether you’re painting a new house or refreshing an old one, proper surface preparation with high-quality materials will lead to the best results.
What's Your Reaction?