


![Noots Focus Reviews [Truth Exposed 2025]!](https://news.bangboxonline.com/uploads/images/202501/image_430x256_678e3b94881a1.jpg)
![Vivalis Male Enhancement: The Must-Know Ingredients [2025 Update]](https://news.bangboxonline.com/uploads/images/202501/image_430x256_678e3b54e396c.jpg)


Installing Timber Acoustic Wall Panels: A Step-by-Step Guide
Discover a comprehensive step-by-step guide to installing timber acoustic wall panels, enhancing sound quality and aesthetics in any space.
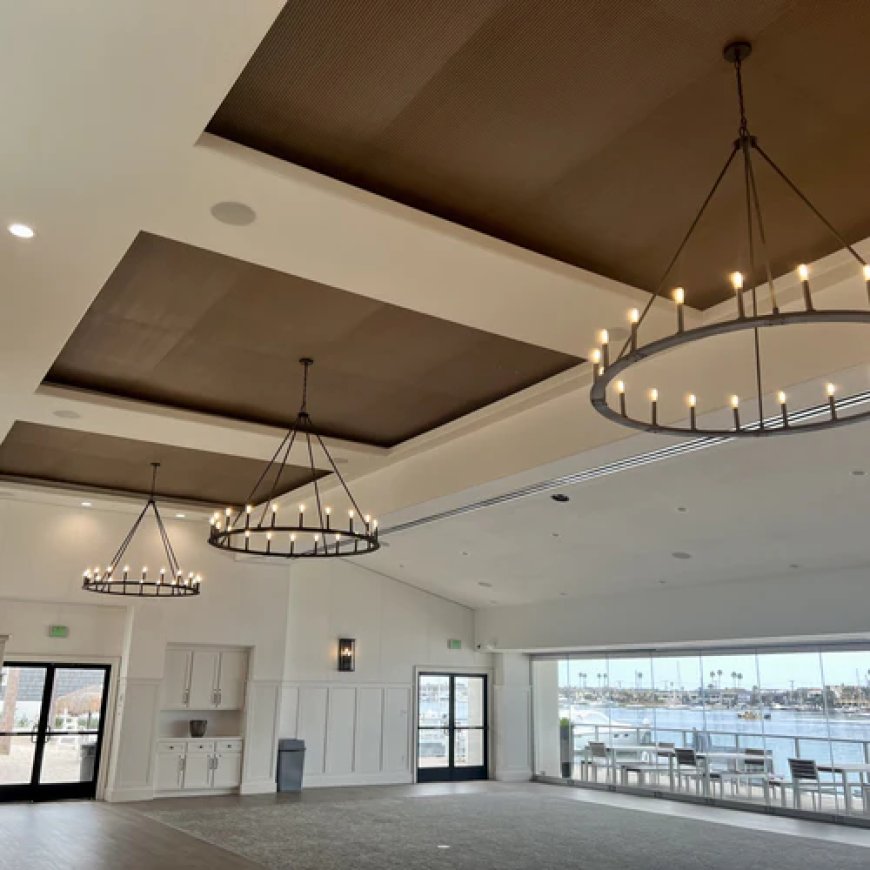
In modern interior design, timber acoustic wall panels have become an increasingly popular solution for managing sound and enhancing the aesthetics of a space. These panels offer a stylish and effective way to improve sound quality in various environments, from corporate offices to residential spaces and entertainment venues. Not only do they provide excellent acoustic control, but they also add a natural warmth and texture to interior designs.
If you are considering installing timber acoustic wall panels in your home or commercial space, this step-by-step guide will help ensure that your installation process goes smoothly and delivers optimal results.
Step 1: Preparation and Planning
Before you begin the installation process, careful planning is crucial to ensure the best outcome. Start by considering the specific acoustic needs of your space. Different environments will have varying sound control requirements. For instance, offices and conference rooms may need more sound absorption than a home theater or living space.
Key factors to consider:
-
Acoustic Needs: Determine the level of sound absorption required.
-
Design Aesthetic: Choose timber acoustic wall panels that complement your space's overall design.
-
Panel Size and Layout: Measure your walls to decide on the layout, and order panels in the appropriate size.
Once you have a clear plan in place, gather all the necessary materials and tools for installation.
Step 2: Gathering Materials and Tools
Having the right tools and materials on hand will make the installation process efficient and stress-free. Here's a checklist of what you'll need:
Materials:
-
Timber acoustic wall panels
-
Adhesive (for direct bonding)
-
Mounting clips or screws (depending on the installation method)
-
Acoustic insulation (optional, for enhanced sound absorption)
Tools:
-
Measuring tape
-
Level
-
Utility knife
-
Drill (if using screws)
-
Adhesive spreader (if using adhesive)
-
Caulking gun
-
Pencil or marker
Step 3: Wall Preparation
Before you start installing the timber acoustic wall panels, it's important to prepare the walls properly. A smooth, clean surface will ensure the panels adhere securely and align correctly.
Steps for wall preparation:
-
Clean the wall: Use a damp cloth to remove any dust, dirt, or grease from the wall.
-
Check for surface imperfections: Repair any cracks or holes in the wall by filling them in with wall filler or spackle. Let it dry completely.
-
Ensure the wall is level: Use a level to check the verticality of the wall. Mark guidelines if necessary to keep the panels straight during installation.
Step 4: Marking the Installation Area
To ensure precise placement of your timber acoustic wall panels, it's essential to mark the installation area on your wall. This helps to avoid misalignment and ensures a professional finish.
-
Measure the wall: Use a measuring tape to find the exact center of the wall and mark it. This will help in positioning the first panel.
-
Draw alignment lines: Use a pencil and level to draw horizontal and vertical lines where the edges of your first panel will go. These guidelines will help keep the rest of the panels in line.
Step 5: Panel Placement and Installation Methods
There are two primary methods for installing timber acoustic wall panels: adhesive bonding and mechanical fastening (screws or mounting clips). The method you choose will depend on your personal preference and the type of surface you're working with.
Method 1: Adhesive Bonding
Adhesive bonding is a popular option for smooth walls and surfaces that cannot be drilled into, such as glass or tiled walls. It provides a seamless, secure installation without visible screws.
Steps:
-
Apply adhesive: Using an adhesive spreader, apply a generous amount of strong acoustic panel adhesive to the back of the timber acoustic wall panels.
-
Press the panel onto the wall: Align the panel with your marked guidelines and press it firmly onto the wall. Hold it in place for a few minutes to allow the adhesive to bond securely.
-
Repeat the process: Continue applying adhesive and placing the rest of the panels, ensuring that the edges align seamlessly.
Method 2: Mechanical Fastening
For more permanent installations, mechanical fastening with screws or mounting clips is a secure method. It is ideal for drywall or wood surfaces that can be drilled into.
Steps:
-
Pre-drill holes: Using a drill, pre-drill holes into both the wall and the back of the timber acoustic wall panels where the screws or clips will go.
-
Insert screws or clips: Align the panel with your guidelines and screw it into place using the pre-drilled holes. If using mounting clips, attach them to both the panel and wall for added support.
-
Continue the process: Repeat the steps for the remaining panels, ensuring each panel is securely fastened to the wall.
Step 6: Finishing Touches
Once all the timber acoustic wall panels have been installed, take a moment to step back and ensure everything is aligned and level. Check for any gaps or inconsistencies in the panel placement.
Tips for a professional finish:
-
Fill gaps: If any small gaps remain between panels, use a caulking gun to fill them with wood filler or caulk. This will create a smooth, seamless look.
-
Clean the panels: Wipe down the panels with a clean, dry cloth to remove any dust or adhesive residue.
Step 7: Post-Installation Maintenance
To ensure the longevity and appearance of your timber acoustic wall panels, proper maintenance is essential.
Maintenance tips:
-
Regular cleaning: Dust the panels regularly with a soft cloth to prevent buildup.
-
Avoid moisture: Timber can warp if exposed to excessive moisture, so avoid installing panels in humid areas or ensure adequate ventilation.
-
Inspect for damage: Periodically inspect the panels for any signs of wear or damage, and repair them as necessary.
Read also this article: WhatsApp Marketing for Educational Institutions in Mumbai
Conclusion
Installing timber acoustic wall panels is an excellent way to enhance both the sound quality and visual appeal of a space. By following this step-by-step guide, you can achieve a professional installation that delivers maximum acoustic performance. Whether you're looking to create a quieter office, improve the acoustics in a home theater, or add warmth to a restaurant, timber acoustic wall panels provide the perfect solution.
With careful preparation, the right tools, and attention to detail, your installation will not only look great but also transform your space into a sound-optimized environment that feels comfortable and inviting.
What's Your Reaction?