Engine Diagnostic Procedures: A Comprehensive Guide
Learn essential engine diagnostic procedures to quickly identify and resolve vehicle issues, ensuring long-term engine health.

Engine diagnostics are a vital part of modern vehicle maintenance. As cars become more complex, understanding how to diagnose car engine problems can save time, money, and prevent further damage. This article will guide you through the engine diagnostic procedures, helping you to grasp the basics and become more informed about your vehicle’s health.
Understanding Engine Diagnostics
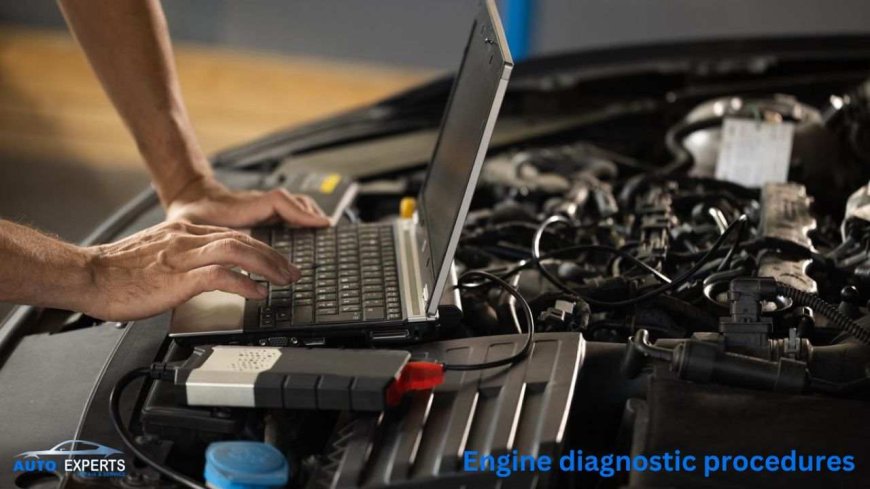
Engine diagnostics involve the use of technology to identify problems within a vehicle’s engine and related systems. Modern vehicles are equipped with an onboard diagnostic system (OBD), which continuously monitors various aspects of the car's performance. When something goes wrong, the OBD system generates a code, known as a Diagnostic Trouble Code (DTC), which can be read using a diagnostic tool.
Why Engine Diagnostics Are Important
- Preventing Major Damage: Early detection of issues can prevent minor problems from escalating into major repairs.
- Saving Money: Identifying the root cause of an issue can prevent unnecessary repairs and reduce labor costs.
- Ensuring Safety: A well-functioning engine is crucial for the safe operation of the vehicle.
Step-by-Step Guide to Engine Diagnostic Procedures
1. Check Engine Light Analysis
The check engine light is the first sign that something might be wrong with your engine. When this light comes on, it's essential to take it seriously. While it could be a minor issue, like a loose gas cap, it could also indicate a more severe problem.
- Step 1: Note when the light comes on and if there are any noticeable changes in the car’s performance.
- Step 2: Use an OBD-II scanner to retrieve the Diagnostic Trouble Code (DTC) from the vehicle’s onboard computer. These codes will provide insight into the nature of the problem.
2. Retrieving Diagnostic Trouble Codes (DTCs)
Once the DTCs are retrieved, it's time to interpret them. Each code corresponds to a specific issue within the vehicle. For example, a P0300 code indicates a random or multiple cylinder misfire.
- Step 3: Research the specific DTC to understand what it indicates. Most OBD-II scanners will provide a basic description of the code.
- Step 4: Look for patterns. If multiple codes are present, they may be related, or one issue could be causing others.
3. Performing a Visual Inspection
Before diving deeper, perform a thorough visual inspection of the engine and its components. Look for obvious signs of wear, damage, or disconnections.
- Step 5: Inspect hoses, belts, and connections for cracks, leaks, or signs of wear.
- Step 6: Check the battery and its terminals for corrosion, which can lead to electrical issues.
4. Conducting Basic Engine Tests
Several simple tests can help narrow down the issue.
- Step 7: Spark Test: Remove a spark plug and check for a strong spark. A weak or absent spark could indicate ignition system problems.
- Step 8: Compression Test: Use a compression gauge to check the engine’s compression. Low compression in one or more cylinders may indicate internal engine issues like worn piston rings or a blown head gasket.
- Step 9: Vacuum Test: Attach a vacuum gauge to the intake manifold. Unusual readings can indicate problems like intake leaks or exhaust restrictions.
5. Advanced Diagnostic Procedures
For more complex issues, advanced diagnostics may be necessary.
- Step 10: Fuel Pressure Test: Use a fuel pressure gauge to ensure the engine is receiving the correct fuel pressure. Low pressure could point to a failing fuel pump or clogged fuel filter.
- Step 11: Exhaust Gas Analysis: Analyzing the exhaust gases can provide insight into combustion efficiency and whether the engine is running too rich or lean.
- Step 12: Scan Live Data: Many OBD-II scanners offer live data viewing. Monitor parameters like engine temperature, oxygen sensor readings, and fuel trim to gain a deeper understanding of the engine’s condition.
6. Consulting with a Professional
If the diagnostic procedures don’t lead to a clear solution, it may be time to consult with a professional mechanic. They have access to more advanced tools and expertise to diagnose and repair complex engine issues.
- Step 13: Provide the mechanic with the DTCs, test results, and any observations you’ve made. This information can help them pinpoint the issue more quickly.
Common Engine Problems and Their Symptoms
Understanding common engine problems can make diagnostics easier. Here are a few examples:
- Misfires: Caused by ignition, fuel, or compression issues, misfires result in rough idling, poor acceleration, and increased emissions.
- Overheating: Often due to cooling system failures, overheating can cause engine damage if not addressed promptly.
- Fuel System Issues: Problems like a clogged fuel filter or failing fuel pump can cause poor engine performance and stalling.
- Sensor Failures: Modern engines rely on various sensors. A failing sensor, like the oxygen sensor, can lead to incorrect fuel mixture and poor engine performance.
Maintaining Your Engine for Long-Term Health
Regular maintenance is key to avoiding engine problems and ensuring your vehicle runs smoothly.
- Regular Oil Changes: Keep the engine lubricated and reduce wear.
- Scheduled Tune-Ups: Replace spark plugs, filters, and other components to maintain optimal performance.
- Cooling System Maintenance: Check and replace coolant regularly to prevent overheating.
- Monitor Warning Lights: Don’t ignore warning lights; they often indicate early signs of issues.
Conclusion
Engine diagnostic procedures are essential for identifying and resolving engine issues before they become major problems. Whether you’re using a basic OBD-II scanner or performing advanced diagnostics, understanding these procedures can save you time, money, and stress. Regular maintenance and paying attention to warning signs will help keep your engine running smoothly for years to come.
What's Your Reaction?


