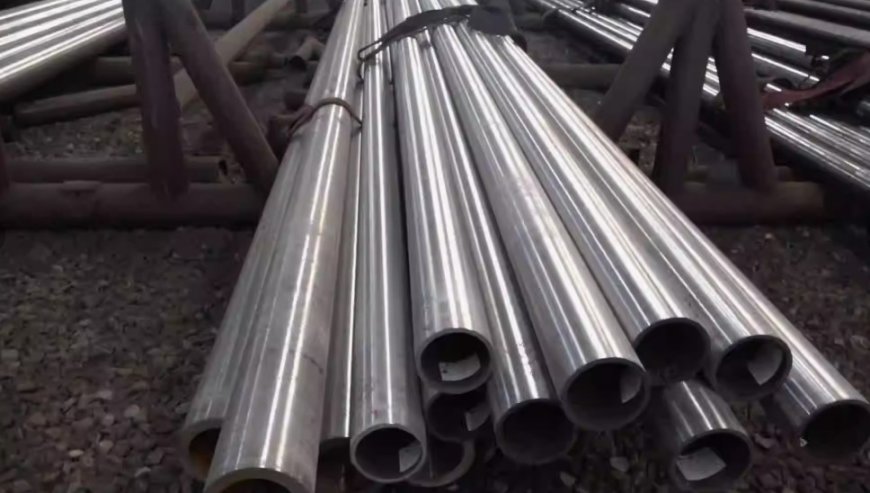
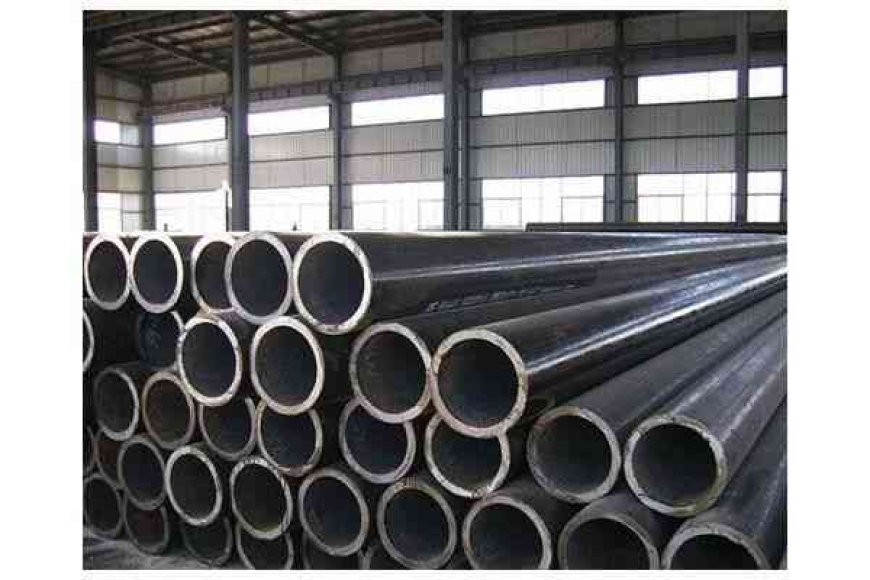
Quality Control and Testing Procedures for ASTM A335 GR P11 Seamless Tubes
ASTM A335 GR P11 seamless tubes are high-performance alloy steel tubes designed for high-temperature applications, such as in power plants, chemical processing, and boiler systems. The manufacturing process for these tubes involves stringent quality control and testing procedures to ensure they meet the necessary mechanical properties, dimensional accuracy, and surface quality. Below is a comprehensive overview of the quality control and testing procedures involved in the production of ASTM A335 GR P11 seamless tubes.
1. Material Quality Control
Before any manufacturing begins, ensuring the raw materials meet the required standards is critical. The alloy steel used in ASTM A335 GR P11 tubes undergoes thorough quality checks to confirm the chemical composition and mechanical properties.
- Chemical Composition Testing: The raw material (alloy steel) is tested to verify that it meets the ASTM A335 GR P11 specification, which includes specific percentages of elements like chromium, molybdenum, carbon, and others. These elements provide the alloy with high-temperature strength, corrosion resistance, and toughness.
- Supplier Certification: The steel billets or ingots used in manufacturing are sourced from certified suppliers, and the material certificates are reviewed to confirm that they comply with ASTM A335 GR P11 specifications.
2. Visual Inspection
A visual inspection is the first step in the quality control process. It involves a surface check for any visible defects or irregularities that may affect the tube’s integrity. During this stage, inspectors look for:
- Surface Cracks: Any visible cracks, pits, or surface defects are identified and recorded.
- Scale or Oxidation: Any signs of scale, oxidation, or foreign material on the tube's surface are noted.
- Dimensional Check: Basic dimensional parameters like tube length, diameter, and wall thickness are inspected visually to ensure conformity to the specifications.
3. Ultrasonic Testing (UT)
Ultrasonic testing is a non-destructive testing (NDT) method used to detect internal defects such as cracks, voids, and inclusions in the seamless tube. This procedure uses high-frequency sound waves to probe the material and provide a clear image of its internal structure. The following are typical steps in ultrasonic testing:
- Probe Placement: An ultrasonic probe is placed on the surface of the tube, and sound waves are sent through the material.
- Defect Detection: If the sound waves encounter any discontinuities (such as internal cracks or voids), they are reflected back to the probe, providing a signal that indicates the presence of defects.
- Acceptance Criteria: The tube passes if no significant internal defects are detected that could affect its mechanical properties or performance in high-pressure environments.
4. Hydrostatic Testing
Hydrostatic testing is another critical procedure for ensuring the tube can withstand internal pressures without leaking. This test is conducted by filling the tube with water and subjecting it to high pressure, typically higher than the pipe's operating pressure.
- Test Procedure: The tube is sealed at both ends and filled with water. The pressure is gradually increased until it reaches the required testing level, usually several times the working pressure.
- Leakage Check: Any leaks or deformations during the test indicate that the tube has failed and is not suitable for use.
- Pressure Levels: The test pressure for ASTM A335 GR P11 tubes typically follows the requirements specified by the ASTM standards, ensuring the tube is fit for high-pressure applications.
5. Tensile Testing
Tensile testing measures the mechanical properties of the tube, specifically its strength and ductility. The tube is subjected to a controlled tensile force to determine the following properties:
- Ultimate Tensile Strength (UTS): The maximum amount of stress the tube can withstand before breaking.
- Yield Strength: The stress at which the tube begins to deform plastically.
- Elongation and Reduction of Area: These tests assess the material's ability to stretch and deform without failure, which is crucial for high-stress applications.
These properties must meet the requirements of ASTM A335 GR P11, ensuring the tube will perform reliably under high-temperature and high-pressure conditions.
6. Hardness Testing
Hardness testing is used to determine the material's resistance to deformation and wear. Several hardness testing methods can be used, including the Brinell, Rockwell, or Vickers hardness tests. For ASTM A335 GR P11, hardness testing ensures the material has the appropriate balance of hardness and ductility.
- Test Procedure: A specific load is applied to an indenter, which leaves an impression on the tube’s surface. The depth or size of the indentation is used to determine the hardness value.
- Hardness Range: The hardness value must meet the requirements specified in ASTM A335 GR P11, ensuring that the tube has adequate wear resistance for its intended applications.
7. Dimensional Inspection
Dimensional accuracy is critical for seamless tubes to fit properly into their intended applications, especially in high-pressure or heat-sensitive environments. Key dimensions that are checked include:
- Outer Diameter (OD): The diameter of the tube must be within specific tolerances.
- Wall Thickness: Consistent wall thickness is vital for maintaining the structural integrity of the tube under pressure.
- Length: The length of the tube is measured to ensure it meets the specifications and fits within the system.
Special tools such as micrometers, calipers, and laser gauges are used to measure these parameters accurately.
8. Impact Testing
Impact testing measures the material's toughness and ability to absorb energy during sudden or extreme forces, such as during system startups or pressure fluctuations. This test is particularly important for tubes used in cold environments or areas where thermal shock might occur.
- Charpy Impact Test: A notched specimen of the tube is subjected to a high-energy impact to see how well it absorbs the energy without fracturing.
- Temperature Conditions: The test is often conducted at low temperatures to simulate the conditions the tube might face in actual service.
9. Surface Finish and Coating Inspection
The surface finish of the tube plays a role in its performance, particularly in terms of corrosion resistance. After the tube is formed, it undergoes a surface treatment process, such as:
- Pickling: Immersing the tube in an acid solution to remove scale and oxidation.
- Polishing: Polishing the surface for a smoother finish.
- Coatings: Some tubes may receive protective coatings, such as zinc or paint, to improve corrosion resistance, especially for outdoor or marine environments.
The surface inspection ensures there are no visible defects, and that coatings, if applied, are uniform and adhere properly.
10. Certification and Documentation
Once all the quality control tests are completed, the tubes undergo final inspection and are certified for compliance with ASTM A335 GR P11 standards. The documentation includes:
- Test Reports: Results from ultrasonic, tensile, hardness, and impact tests.
- Material Certificates: Details of the chemical composition and mechanical properties.
- Certification of Compliance: A document stating that the tubes meet the relevant ASTM standards and are suitable for high-temperature and high-pressure applications.
The certification process ensures that the tubes are traceable, and customers can have confidence in their quality and performance.
Conclusion
The quality control and testing procedures for ASTM A335 GR P11 seamless tubes are comprehensive and rigorous, designed to ensure the pipes meet the necessary standards for high-temperature, high-pressure applications. Through a combination of chemical analysis, non-destructive testing, mechanical testing, and visual inspections, manufacturers can ensure the tubes will perform reliably in demanding environments. These quality assurance steps are critical to maintaining the safety, performance, and longevity of the pipes in industries such as power generation, petrochemical, and chemical processing.
What's Your Reaction?


![[Latest] Acrylate Market to Cross $15.16 Billion in Total Revenue by 2030 | Riding on a Strong 6.3% CAGR](https://news.bangboxonline.com/uploads/images/202408/image_430x256_66d155cde3765.jpg)